
Warning: You are viewing an older version of this documentation. Most recent is here: 42.2.0
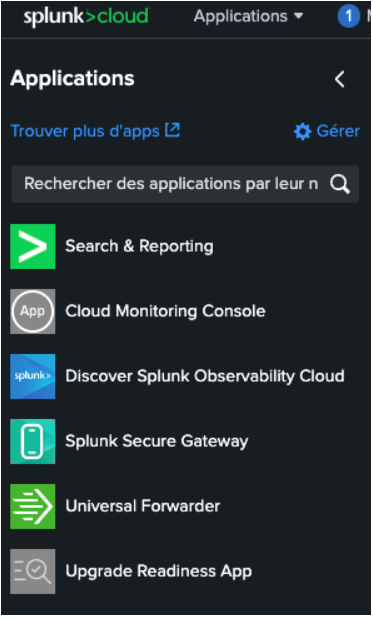
Splunk
Forwarding Clear NDR® to Splunk
General Procedure
To forward logs to Splunk, open Stamus Probe Management and go to:
Appliances
Identify the Stamus Probe you want to activate logs forwarding from
Click the
Viewbutton on the right of the screen of the selected Stamus ProbeThen, in the left-side action menu, click
Edit settingsunder theActionsectionFinally, select the
Splunktab
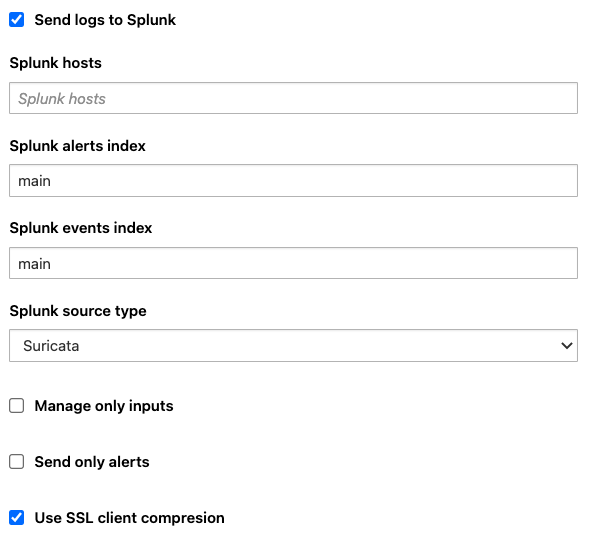
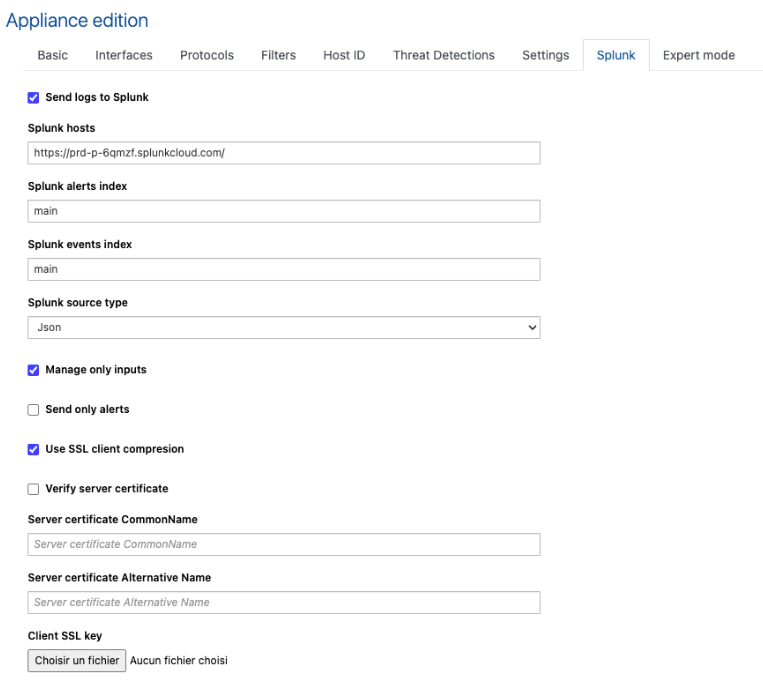
By default, if Splunk forwarding hasn’t been activated yet, you will only be presented one single option as illustrated by the following screenshot.

Check the box Send logs to Splunk and further options appears to configure the logs forwarding.
Note
Once the configuration fits your environment requirements, don’t forget to Apply Changes
Options
Option |
Purpose |
|---|---|
Splunk hosts |
Specify to which Splunk indexer the logs should be forwared to. The format is |
Splunk alerts index |
Specify in which Splunk index should the Stamus/Suricata alerts be sent to such as |
Splunk events index |
Specify in which Splunk index should the Stamus events be sent to such as |
Splunk source type |
Specifiy how to sourcetype the alerts and events sent to Splunk. If you are using the Stamus App for Splunk, make sure to adjust the sourcetype to |
Manage only inputs |
prevent CNCS from overwriting the output configuration of Splunk in the output.conf file |
Send only alerts |
If enabled, only CNCS alerts ( |
Use SSL client compression |
The compressed attribute only matters if you are forwarding without SSL. It determines whether Splunk will or not perform native compression on a per-data chunk (UF, LWF) or per-event (HWF) basis for outgoing data. This must be enabled on both ends for things to work. If you are forwarding with SSL, unless you explicitly set useClientSSLCompression to false, you will automatically benefit from SSL compression over the data stream. |
Verify server certificate |
If enabled, will perform a verification of both the server certificate CommonName and Alternative Name (see below) |
Server certificate CommonName |
Set the CommonName to match against the one in the certificate |
Server certificate Alternative Name |
Set the Alternative Name to match against the one in the certificate |
Client SSL key |
Upload SSL key |
Client SSL certificate |
Upload SSL certificate |
Enabling encryption with Splunk
To enable encryption for the Splunk connection:
Click on
Homemajor menu;Click on
Global Appliance Settings-> select tabSplunk;Enable
Connect to Splunk with SSLcheckbox;Click browse on
TLS certificate authority file of Splunk serverand upload the CA file of the Splunk server.
On Appliance edition page:
Go to
SplunktabScroll down and upload Key and Certificate files in the
Client SSL keyandClient SSL certificatefields.
When enabling SSL, do not forget to apply changes to both Clear NDR\ :sup:`®` Central Server and Probe
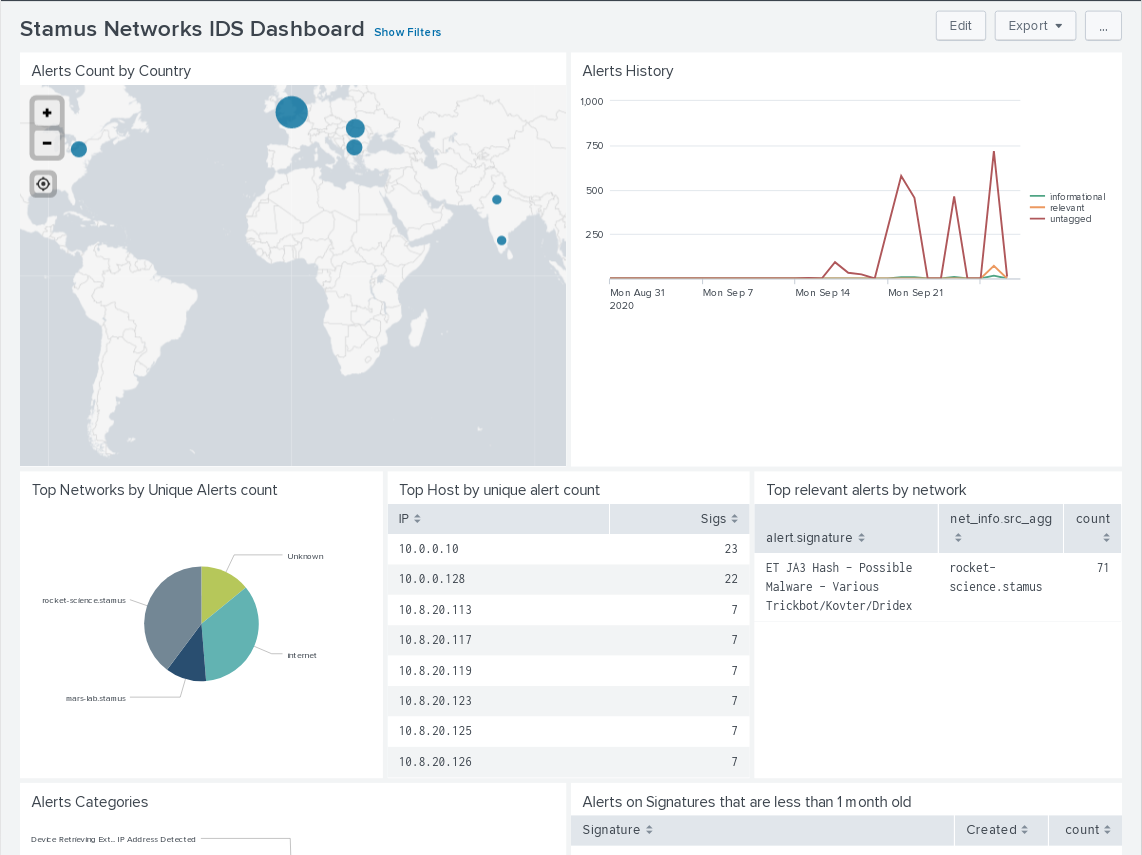
Stamus App for Splunk
The Stamus Networks App for Splunk enables threat hunters, incident responders and other security practitioners who use Splunk to tap into the power of Clear NDR® Central Server (CNCS) or Suricata to more effectively do their job.
Stamus Networks develops advanced network threat detection and response solutions, including the Clear NDR® Central Server and the open source SELKS.
Clear NDR® Central Server is used by security practitioners worldwide to expose real threats to their critical assets, empower their team’s rapid response, and mitigate their organization’s risk. Its analytics engine that sits atop a unique combination of network traffic analysis (NTA), network intrusion detection (IDS) and organizational context allows users to quickly detect, investigate, and respond to threats and security policy violations.
The Stamus Networks App for Splunk allows Splunk Enterprise users to extract information and insights from both the Clear NDR® Central Server and open source Suricata sensors. It provides dashboards and reports but also a set of commands to interact with Clear NDR® Central Server via its REST API.
Stamus Networks App for Splunk is available on Splunkbase
Warning
The Splunk App must be deployed on the Search Head (dashboards) and Splunk Indexers (parsing)
Hint
The installation instructions, especially to integrate Splunk custom commands with CNCS, are available on Stamus Networks Github.
Splunk Cloud Set up
Account creation
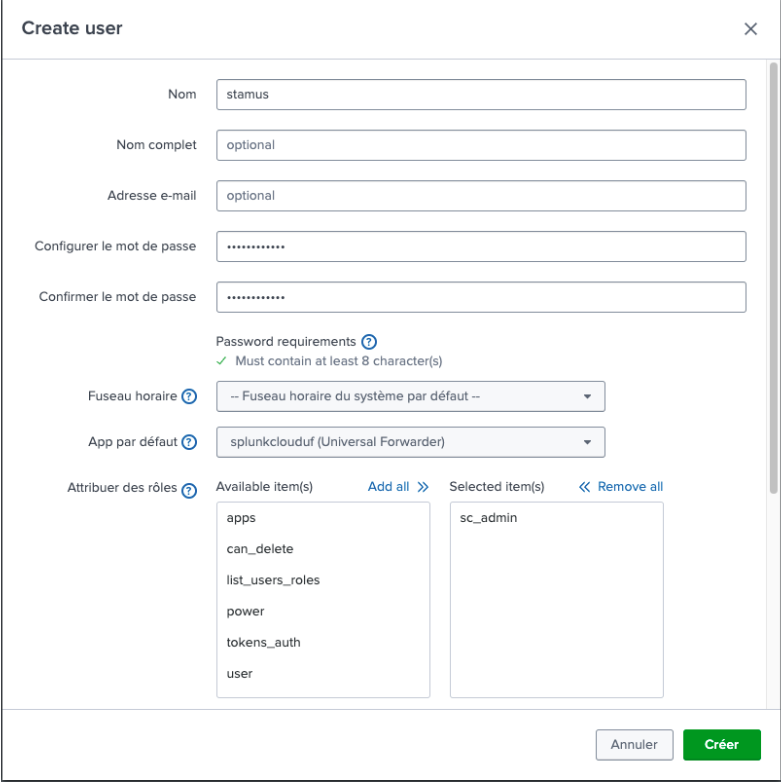
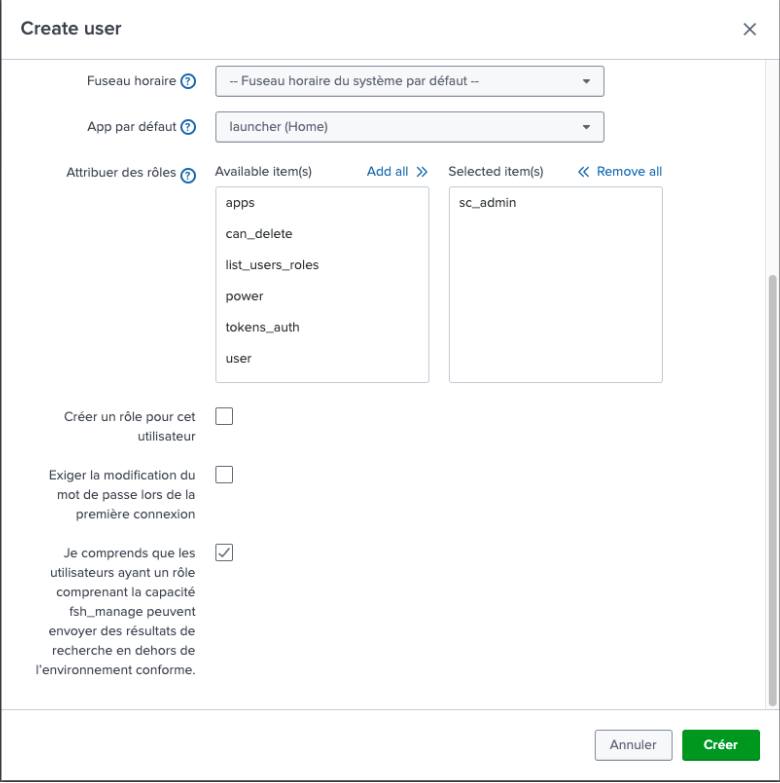
Login to the Splunk cloud tenant and create a service account stamus
Make sure the account has the sc_admin role and the splunkclouduf default app.
Universal Forwarder Credentials
Download the universal forwarder credential file in the Universal Forwarder section of the tenant
Click on Download Universal Forwarder Credentials
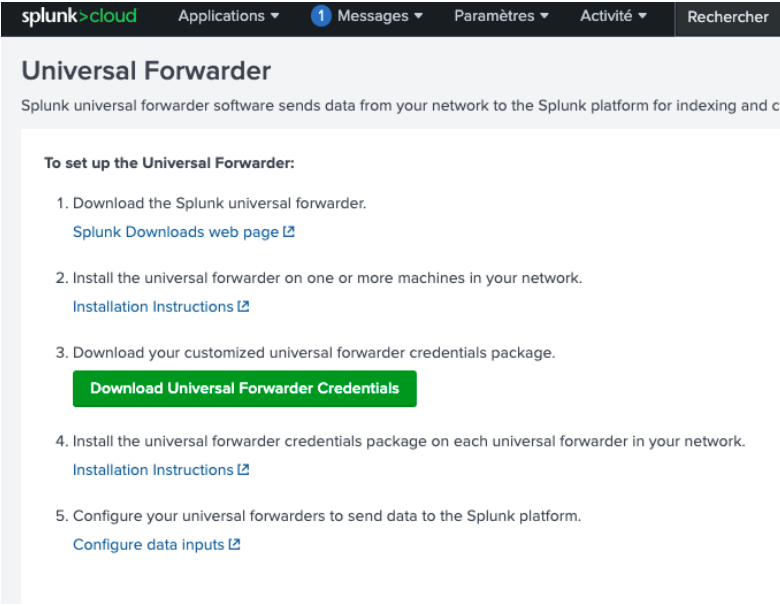
Copy the file to the /tmp folder of your probe:
scp /Users/johnnybravo/Downloads/example.pcap -i /Users/johnnybravo/Documents/Key/id_rsa johnnybravo@10.138.0.1:/tmp
Clear NDR® configuration
Stamus UI
Enable sending logs to SPlunk: navigate to Administration UI > Appliances > Edit Settings > Splunk
Tick Send logs to Splunk
In Splunk host, copy the tenant hostname (The tenant ip will be actually taken from the credential file you downloaded in the previous step. However, if Send logs to Splunk is not enabled, the SPlunk service cannot be restarted, and this option requires the hostname field to be filled)
Enable the Manage Only Inputs option.
Save the changes and do an Apply Changes
Universal Forwarder configuration
Login to the probe with ssh and create the user-seed.conf file:
sudo vi /opt/splunkforwarder/etc/system/local/user-seed.conf
In this file you will need to put the username and password of the account you created in step 1.
For more information please condult the Splunk Secureyouradminaccount documentation
Install the universal forwarder credential file you downloaded in step 2.
For more information please condult the Splunk UnixGDIhttps documentation
/opt/splunkforwarder/bin/splunk install app /tmp/splunkclouduf.spl